Homemade Caramel Apple Dip (Without Cream Cheese)
Homemade caramel apple dip brings buttery brown-sugar sweetness to crisp apple slices without unwrapping candies or layering cream cheese. This stovetop version uses brown sugar, butter, heavy cream, vanilla and a little salt. Let it cool until it clings to a slice rather than running straight off.
The flavor is closer to butterscotch than traditional caramel made by browning white sugar. That distinction matters: you do not need to watch for an amber color change, and cooking it darker will not improve it. The goal is dissolved sugar, a smooth emulsion and a spoon-coating texture after cooling.
Why this dip works
Heavy cream keeps the mixture rich while butter gives it a soft, glossy finish. Brown sugar contributes molasses flavor from the start. Gentle heat dissolves the sugar in homemade caramel apple dip; cooling does much of the thickening. Salt balances the sweetness, and vanilla rounds out the finished dip.
This homemade caramel apple dip is a sweet dessert accompaniment, not a whole-apple candy coating. It stays softer than caramel used for apples on sticks. Serve a small portion alongside fruit so each person can choose how much to use.
Ingredients and practical swaps
- Light brown sugar: Pack it firmly for consistent sweetness and thickness. Dark brown sugar gives a stronger molasses flavor and darker color.
- Unsalted butter: Start with small cubes so they melt evenly. If using salted butter, omit the added salt at first and adjust only after the dip has cooled.
- Heavy whipping cream: Use cream with at least 35% fat. Milk is thinner and is not a direct substitute for the same texture.
- Fine salt and vanilla: Measure the salt carefully. Add vanilla after taking the saucepan off the heat.
- Fresh apples: Choose firm apples and slice them shortly before serving. Keep the fruit separate from the stored dip.
No cream cheese, condensed milk or corn syrup is added. Butter and cream contain milk, so this is not a dairy-free recipe. Plant-based substitutions can change both texture and flavor; use a recipe designed for those ingredients rather than assuming the same results.
How to make homemade caramel apple dip
1. Measure the ingredients
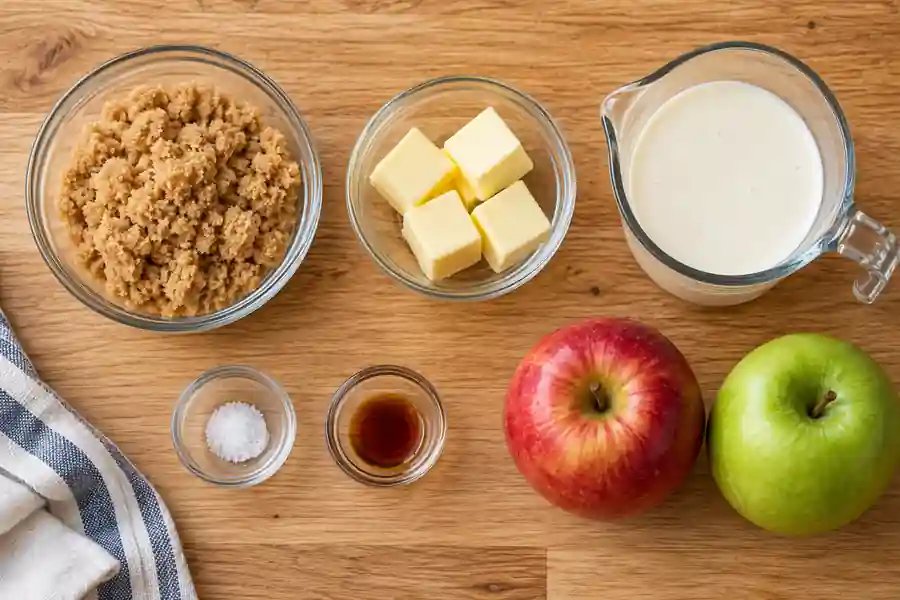
Pack the brown sugar into the measuring cup and level it. Measure the cream, cube the butter and set out the salt and vanilla. Use a heavy-bottomed saucepan with at least a 2-quart capacity.
2. Melt and combine
Put brown sugar, butter, cream and salt into the saucepan. Warm over medium-low heat, stirring with a heatproof spatula until the butter melts and the mixture becomes uniform. Scrape the bottom gently so sugar does not stick.
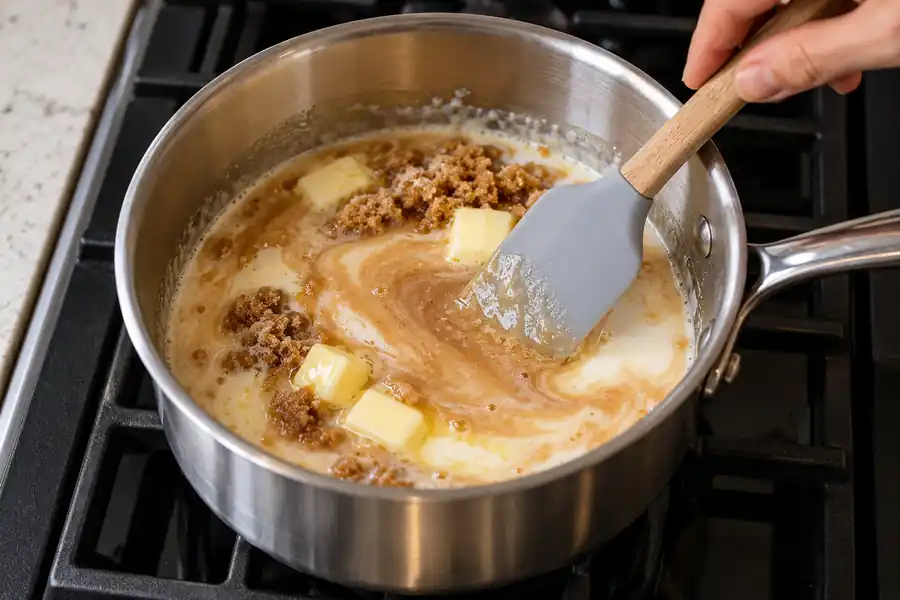
3. Simmer gently
When small bubbles appear, reduce the heat to maintain a gentle simmer. Cook for 3–5 minutes, stirring frequently, until the mixture looks smooth and slightly thicker. Do not cook to a dark color or a candy stage; it will thicken further as it cools.
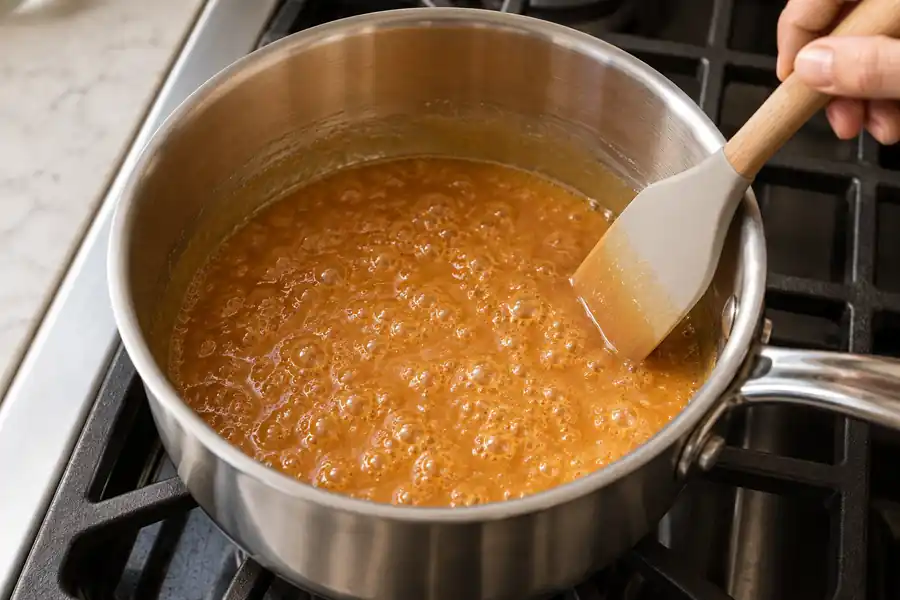
4. Add vanilla off the heat
Take the saucepan off the heat and stir in the vanilla carefully. Hot sugar can cause serious burns; do not touch or taste the dip while it is hot.
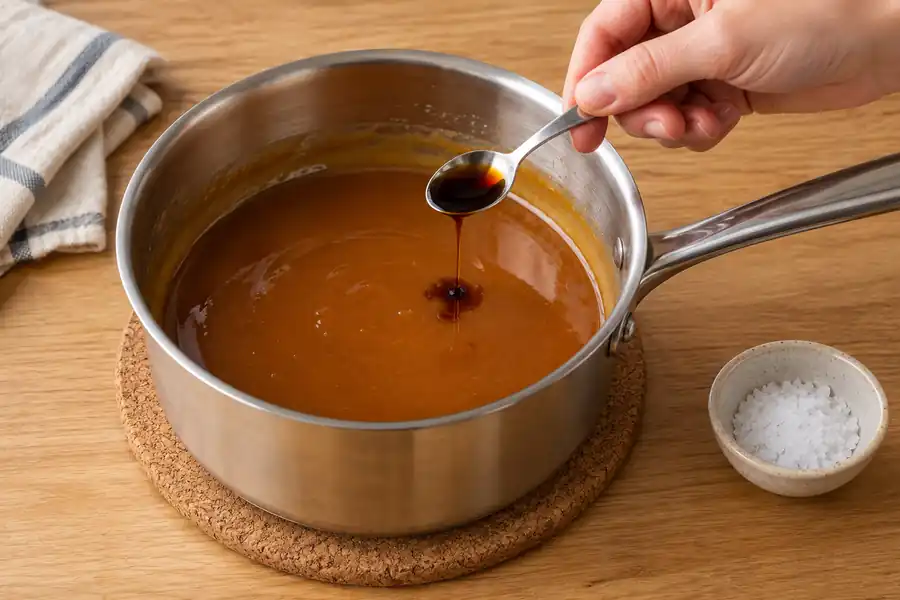
5. Cool to dipping consistency
Transfer carefully to a clean heatproof bowl. Let cool for about 20 minutes, stirring occasionally, until comfortably warm and thick enough to coat a spoon. Cooling time varies. If it is still hot, wait longer before serving. Refrigerate promptly if making ahead.
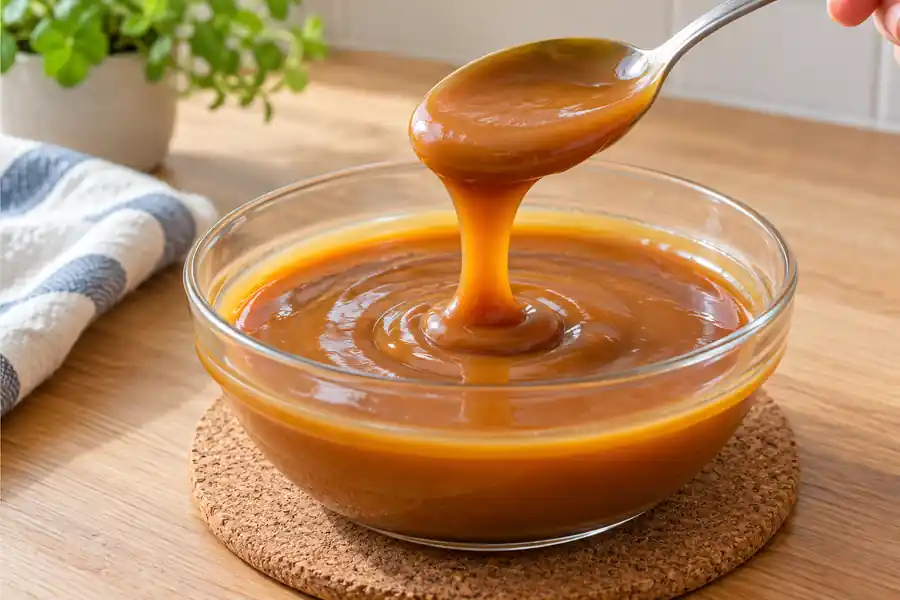
6. Portion and serve
Wash apples under running water, dry them, core and slice shortly before serving. Portion dip into a small clean bowl and serve with apple slices. Keep the remaining batch refrigerated; do not return used dipping sauce to it.
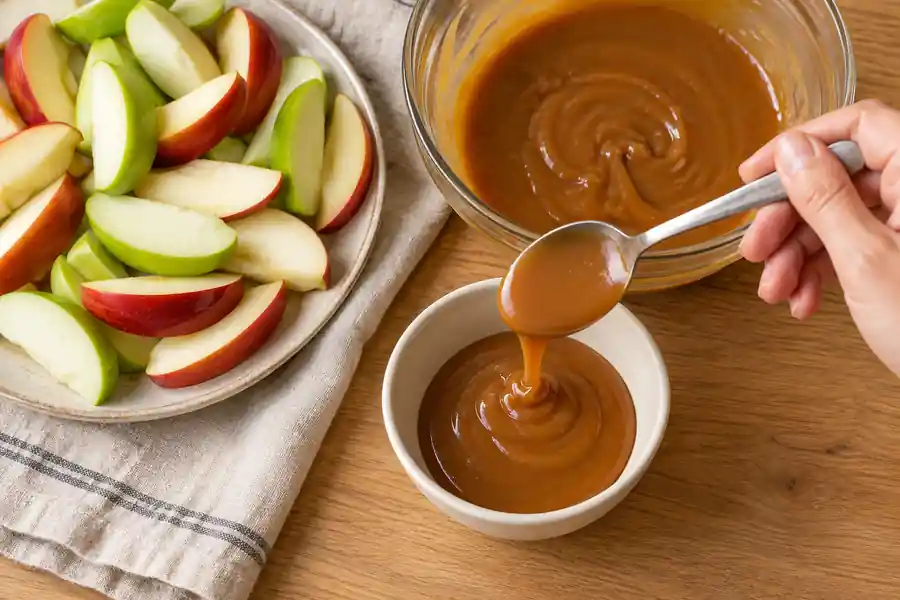
Choose apples that hold up to dipping
Granny Smith apples bring tartness that contrasts with the sweet dip. Honeycrisp, Pink Lady and other firm eating apples offer a sweeter crunch. Very soft or mealy apples can break apart when dragged through a thick dip, so choose fruit that feels firm and has no damaged areas.
For a homemade caramel apple dip platter, cut manageable wedges and pat away excess surface moisture. Water on the slices can make the dip slide off. A little lemon juice can slow browning, but use it sparingly and blot the slices so the tart juice does not pool into the caramel.
Get the texture right
Judge homemade caramel apple dip after cooling, not straight from the saucepan. While hot, it should pour easily. As it loses heat, it becomes thicker and coats the back of a spoon. It will firm further in the refrigerator, so chilled thickness is not the same as serving consistency.
- Too thin: First allow it to cool fully. If it is still loose, return it to the pan for a short gentle simmer, then cool and reassess.
- Too thick: Warm a small portion gently and stir in cream a teaspoon at a time. Stop as soon as it becomes scoopable.
- Grainy: Sugar may not have dissolved completely. Gentle reheating with a small splash of cream may help; avoid scraping dry sugar crystals from the sides into the dip.
- Separated: Remove from heat and whisk gently as it cools. A small splash of warm cream can help it come together. Strong boiling can make the mixture harder to control.
- Burnt or bitter: Start again. Vanilla and salt cannot remove scorched flavor.
Serving ideas and related recipes
Spoon homemade caramel apple dip into individual bowls for an apple platter, or pair it with plain pretzels and simple cookies. Add any nuts or crunchy toppings to separate portions rather than the whole batch, and label allergens if serving guests. Avoid mixing wet fruit directly into the storage container.
For another dessert on the table, try banana chocolate chip bars. A tart option is homemade cranberry sauce with orange. Keep their flavors separate so the apple dip remains the sweet centerpiece.
Tastewiser also has caramel syrup for coffee. That recipe serves a different purpose: a drink syrup should mix into coffee, while this butter-and-cream dip is intended to cling to fruit. Do not swap them tablespoon for tablespoon and expect the same consistency.
Make ahead and store safely
Keep homemade caramel apple dip covered in the refrigerator at 40°F (4°C) or below. As a conservative guideline for a homemade dairy-based sauce, use it within 3–4 days. Put it into a clean, shallow heatproof container and refrigerate promptly; do not leave it on the counter waiting for it to become completely cold.
The FDA food-storage guidance advises limiting unrefrigerated time for perishable food to two hours, or one hour when temperatures exceed 90°F (32°C). Apply that limit to the dip and sliced apples. Serve small portions and keep the rest chilled.
Rewarm only the portion you need over low heat or in short microwave bursts, stirring between them. Keep homemade caramel apple dip comfortably warm rather than hot enough to burn. Never pour hot dip into cold glass. Do not return sauce that has been used for dipping to the original batch. Freezing can change the creamy texture, so refrigeration is the preferred option here.
Nutrition and calories
The recipe card gives a rounded estimate of approximately 135 calories per one-twelfth of the dip. That portion also contains about 17 g carbohydrate and 8 g fat. The expected yield is roughly 1 1/4–1 1/2 cups, depending on evaporation; dividing the finished batch is more consistent than relying on an exact tablespoon measure.
These are ingredient-based estimates, not laboratory results. Cream brands, butter and final yield affect the figures. Apples, pretzels and other dipping foods are excluded. The dip contains added sugar and dairy fat, so portion size makes a meaningful difference to the total dessert.
Frequently asked questions
Can I make caramel apple dip without cream cheese?
Yes. Homemade caramel apple dip uses butter and heavy cream for its body, with brown sugar for sweetness. It makes a smooth cooked dip rather than the tangy, whipped texture of a cream cheese version.
Is this caramel or butterscotch?
Because brown sugar and butter provide the flavor, it is technically a butterscotch-style sauce commonly used as caramel apple dip. Traditional caramel starts with sugar cooked until it caramelizes. Here, stop at a gentle simmer instead of trying to darken the sugar.
Can I use it to coat whole apples?
Homemade caramel apple dip is intended for dipping slices. A coating for whole apples needs a different formulation and candy-temperature control so it sets properly. This softer dip may slide off whole fruit.
Does it need to be served warm?
Comfortably warm or near room temperature works, depending on how thick you like it. Freshly cooked dip is dangerously hot, while refrigerated dip is firmer. Warm a small portion gently and stir before serving.
Why did my dip get thicker overnight?
Butter and dairy fat firm up in the refrigerator. That is expected. Gently warm the portion you plan to serve before deciding whether it needs extra cream.
Can I double the recipe?
Use a larger heavy-bottomed saucepan with plenty of headroom. A bigger batch can take longer to heat and cool. Watch the gentle simmer and the cooled texture rather than doubling every timing automatically.
A simple apple dessert to share
Homemade caramel apple dip works best when the apple slices stay crisp and the dip is cool enough to coat them comfortably. Keep the heat gentle, allow the texture to settle and portion it into clean bowls. For a brown sugar caramel dip without cream cheese, this gives you a straightforward sweet finish for an autumn dessert platter.
Recipe card
Follow us on Pinterest for more recipes and cooking ideas. · Follow us on Instagram
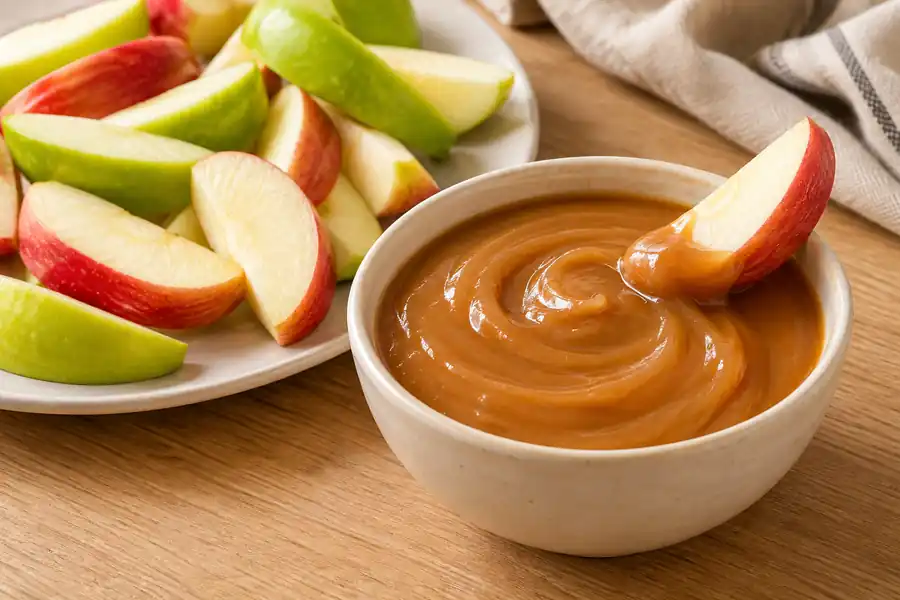

Homemade Caramel Apple Dip
Ingredients
Equipment
Method
- Pack the brown sugar into the measuring cup and level it. Measure the cream, cube the butter and set out the salt and vanilla. Use a heavy-bottomed saucepan with at least a 2-quart capacity.
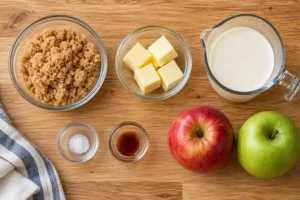
- Put brown sugar, butter, cream and salt into the saucepan. Warm over medium-low heat, stirring with a heatproof spatula until the butter melts and the mixture becomes uniform. Scrape the bottom gently so sugar does not stick.
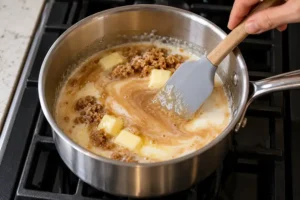
- When small bubbles appear, reduce the heat to maintain a gentle simmer. Cook for 3–5 minutes, stirring frequently, until the mixture looks smooth and slightly thicker. Do not cook to a dark color or a candy stage; it will thicken further as it cools.
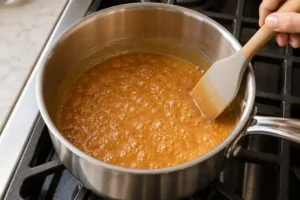
- Take the saucepan off the heat and stir in the vanilla carefully. Hot sugar can cause serious burns; do not touch or taste the dip while it is hot.
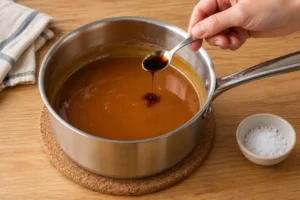
- Transfer carefully to a clean heatproof bowl. Let cool for about 20 minutes, stirring occasionally, until comfortably warm and thick enough to coat a spoon. Cooling time varies. If it is still hot, wait longer before serving. Refrigerate promptly if making ahead.
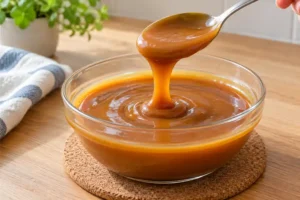
- Wash apples under running water, dry them, core and slice shortly before serving. Portion dip into a small clean bowl and serve with apple slices. Keep the remaining batch refrigerated; do not return used dipping sauce to it.
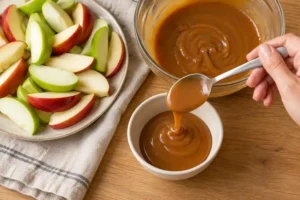
Notes
Get easy recipes in your inbox
Join TasteWiser for new recipes, cooking tips and fresh inspiration.
Confirm your email to subscribe. Unsubscribe anytime.